utorak, 29. svibnja 2012.

Pozdrav.

na zalost jos uvijek nemam kod sebe niti slike sa zavrsnog Illamasquinog ispita, niti jos nismo docekali nase diplome. Nadam se skorasnjoj dodjeli. U meduvremenu nam je stigla druga generacija Masterica. Zelim im puno zabave i srece u daljnjem nadogradivanju skillova.

Proslo je vec 3. snimanje u Fotoklubu Zagreb. Zadovoljna sam. Bez obzira sto uvijek imam osjecaj da mi nesto nedostaje u kovcegu (al zapravo mi i fale neke krucijalne stvari, sto onda trazi dodatno magijanje), shvatila sam da mi to stvarno puno znaci. Nisam ni primjetila, a vec je kroz moje ruke i kistove proslo dosta lica, i svakim danom se taj broj povecava, proporcionalno s mojim samopouzdanjem.

Slike su fotosop free, direkt iz fotica.


Vjerojatno ste do sad i primjetili da sam stavila novi "page", iliti Portfolio, gdje cu stavljati slike nakon svakog snimanja/sminkanja. Bilo bi mi drago cuti Vasa misljenja u vezi radova.

Morati cu se i malo ispricati zbog poveceg izbivanja sa bloga i nedostatka tutorijala/slika i ostalog. Otkad sam pocela masovno sminkati druge, nemam uopce volje hititi ista na sebe kamoli se slikati jos, objavljivati na blogu i slicno. Mozda nesto osvane ako uhvatim vremena ovih dana.

To je to. Javljajte mi se, saljite prijedloge, upite, rezervacije za termine, glupe komentare!

Do daljnjeg.

četvrtak, 24. svibnja 2012.

Za pocetak, par slika sa predzadnjeg predavanja, kada nam je u goste dosla Simona Antonovic. Pokazala nam je par svojih trikova te jedan od njenih cestih lookova, crni tus-crveni ruz.

We had a guest teacher last time before the final exam, make up artist Simona Antonovic gave us a few tips and a little tutorial to her red lipstick-black eyeliner look. Here are a few pictures.


Lijepa kolegica Petra

Zadnjih sat i pol predavanja je bilo rezervirano za nasu fantasy strucnjakinju Ivanu Bilandžiju aka Billy, koja nas je sve izbezumila svojom odlicno kreacijom (slike naknadno).

Takoder vam necu jos moci pokazati slike sa zavrsnog ispita, nadam se da ce uskoro stici. Sa slikama ce doci i kratak izvjestaj.

Nekak sam si apricljiva danas, pa cu jos samo za kraj staviti slike LOTDa.

The second part of the class was reserved for our fantasy expert, Ivana Bilandžija aka Billy. She took our breaths with her amazing fantasy creation (pictures are on their way).

Unfortunately, I still don't have the pictures from the finals, hopefully they will arrive soon. You'll get my report then.

I'm not very talkative today, so here are a few pictures of LOTD.


Eyes:

Essence Pencil in Teddy
Urban Decay Naked in Hustle, Half Baked'n'Smog
Illamasqua Eyeliner Cake in Danger
Illamasqua Mascara in Raven 

Face:

Illamasqua Skin Base (6, 10)
Essence Silky Touch Blush in Adorable (10)
Illamasqua Powder Blush in Disobey


subota, 19. svibnja 2012.

Fire! Tutorial.

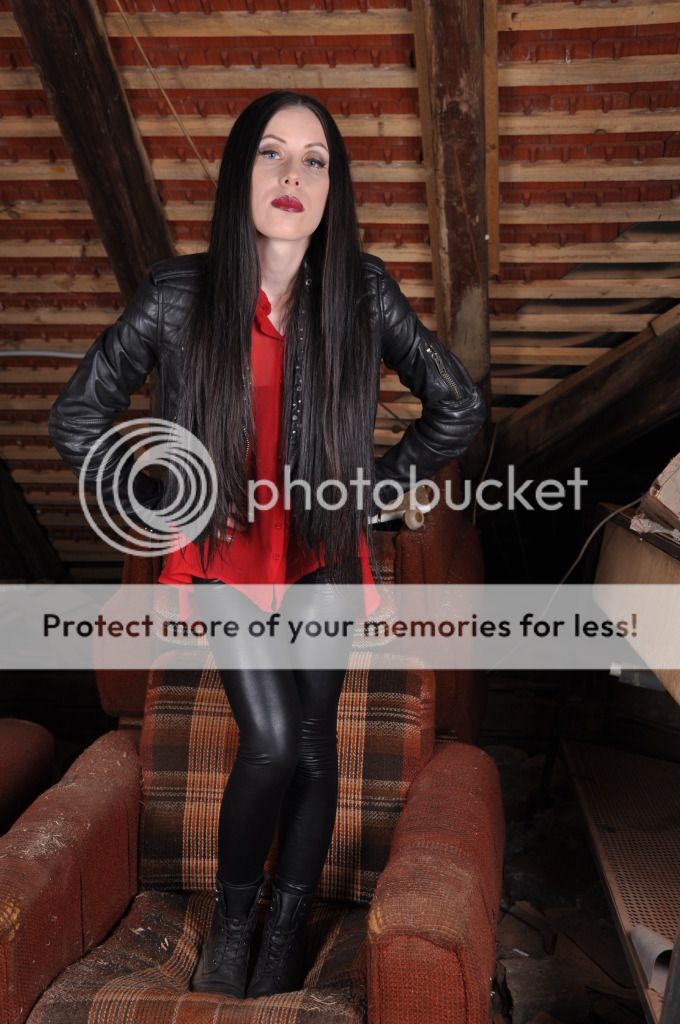
Dobila sam drazestan zahtjev za opeklinasti tutorijal. Pa evo ga. Za ovo vam treba 15 min vaseg vremena, stari kist srednje velicine, paleta s uglavnom toplim zagasitim bojama (smeda, jesen crvena, + siva, crna), viskozni crveni lipgloss, par papirnatih maramica i ljepilo koje cete testirati prije nanosenja na veliku povrsinu koze, da ne bi bilo nismo znali.

I got a fabolous request for this "burned" tutorial. So here it is. For this you will need 15 minutes of your precious time, old medium sized brush, warm coloured palette (brown, dark red, +black and grey), densely red lipgloss, few paper tissues and a glue that you will test before applying to a large area of your skin, better safe then sorry.


Ovo je ljepilo koje sam ja koristila vise puta, i nije bilo pogubnih posljedica. Ima i odlican aplikator.

This is the glue I used many times, and didn't die. Has a great applicator too.


Nanesite ljepilo na zeljeno podrucje. Ako planirate stavljati na lice, ako bas morate, koristite jestiva ljepila za djecu i slicno. Da, to postoji.

Apply the glue on the area you planned. If it's on the face, use safe children glue or something like that.


Maramicu zguzvajte i priljepite cijelu na ljepilo.

Wrinkle the tissue and place it on the glue.


Opet nanesite ljepilo na tu maramicu.

Apply the glue on that tissue.


Stavite novu zguzvanu maramicu na ljepilo.

Another tissue on top of the glue.


Cupkajte (ne rezati) lagano visak maramice da ostane oblik koji ste htjeli (i po kojem ste prvobitno nanijeli ljepilo) te opet nanesite ljepilo, da povrsina ostane ljepljiva.

Remove ends of the tissue to get the wanted shape (also the shape of the first glue coat) with your fingers, to get that "natural" look of the ends. Apply another coat of glue.


Ljepilom ucvrstite krajeve maramica, da izgledaju dobro "zblendani".

Blend the ends of the tissue with more glue.


First row, left to right:1,2,3
Second row, left to right: 4,5,6


Ovo su boje iz palete koje cu koristiti.

This are the colours we need for our look.


...i dobar stari kist.

...and the brush, old friend of mine.


Tapkajuci vatom maknite visak ljepila i pustite ostatke vate da ostanu na ruci, radi realnijeg efekta. Crvenkasto smedom bojom (6) obrubite krajeve. Tapkati, ne utrljavati ili blendati.

Tap on it wth some cotton wool to remove the excess of the glue and to get that "real" texture. Apply the redish brown colour (6) on our edges. Tap it, don't blend.


S bojom br. 5, tapkajuci ispunite sredinu. Ne mora biti savrseno niti potpuno prekriveno bojom.

With the colour n.5 from the palette, fill the middle section with tapping. It doesn't have to be perfect or fully covered with colour.


Sa crnim sjenilom napravite par neurednih tocaka.

Use tthe black eyeshadow to create few messy spots.


Sjajilo sa slike (ili bilokoje drugo, ali ovo preporucujem za ovakve stvari, a i jeftino je) nanesite neravnomjerno po ruci, pritom blendajuci i krajeve.

Apply the lipgloss from the picture (or any other, but I recommend this one, and it's cheap) unevenly onto the hand, slowly blending the edges.


Dodajte jos par crnih mrlja, zblendajte malo crne na krajeve i oko krajeva, malo sive, crvene, po zelji i potrebi.

Add a few more black spots, blend some black on the edges and around it, little bit of grey, red, whatever you think you need to add.


I to je to! Ako ste isprobali tutorijal, zelim vidjeti slike.

And that's it. Show me the pictures after you try the tutoral.

ponedjeljak, 14. svibnja 2012.

I am Fury.


Products :


Illamasqua Intense Lipgloss Fury
Illamasqua Skin Base (6,12)
Illamasqua Body Pencil Vow and Hex
Urban Decay Naked Palette (Naked, Buck)
Stila Contouring Trio (the darkest shade)
Illamasqua Eyeliner Cake (Danger)
Illamasqua Mascara (Raven)
Too Faced Absolutely Flawless Concealer (Vanilla)


Neke novosti.
U petak nam se Daniel Sallstrom vratio u londonsku Illamasquu. Nakon brzinskog razgovora o njegovom iskustvu, dao mi je neke odlicne savjete zbog kojih se jos vise veselim svemu sto dolazi. Nadam se da cu moci u ne tako dalekoj buducnosti posjetiti njega i kolege u Londonu.

Ovo je zadnji tjedan skole, tuga i cemer. U utorak nam kao gost predavac na uvodu u fantasy dolazi Simona Antonovic, a u cetvrtak je ispit. Uspjela sam se napokon zadrzati na jednoj ideji sto cu napraviti na ispitu. Sigurna sam da cemo svi napraviti odlican posao, te cu obavezno poslikati i staviti slike ovdje.

Newsflash.
Last Friday our Daniel Sallstorm went home to Illamasqua London. After a speedy conversation about his experience in the business, he gave me some great tips, and something more to look forward to in the future. I hope I'll be able to visit him and colleagues in London in the near future.


This is the last school week, sadness and depression. Simona Antonovic will be our guest teacher on introduction to fantasy on Tuesday, following with the exam on Thursday. I managed to hold to just one idea for the exam. I'm sure we will all do great, as you will see on the pictures I plan to take and publish here.


Illamasqua Box <3


S obzirom da nisam pisala neko vrijeme, imam cak i opravdanje. Trala, bila sam busy. Ali je i ostvaren novi projekt i suradnja. Postala sam vizazist za snimanja i tecajeve u Fotoklubu Zagreb pod vodstvom Damira Tiljaka. Jucer je bilo prvo snimanje, i nakon par srcanih udara i znojenja, ipak je sve proslo u redu. Slijedi par slika slikano mobitelom, a slijedece nedjelje cu staviti i fotke sa snimanja.

I know it took me ages to write something, but I do have an excuse. Yes, I was busy. And I have a new project. I became a make up artist for shoots and classes in Fotoklub Zagreb with Damir Tiljak. The first shoot was yesterday, and after a few sweaty heart attacks, everything went accordingly to the  plan. Few mobile phone pictures following. This Sunday you can expect pictures from the shoot.


utorak, 8. svibnja 2012.

Goldie Trans.


Products:

MAC Paintpot Soft Ochre
Illamasqua Medium Pencil Vow
Elf Pressed Powder
Illamasqua Illuminator Glimmer
Illamasqua Eyeliner Cake Mislead
Larenim Purple Haze
MAD Cosmetics Pebbles
MAD Cosmetics Poise
Ebay lashes

ponedjeljak, 7. svibnja 2012.

Illamasqua tjedan #3

Ovaj tjedan (tj. sad vec prosli) na predavanjima obradili smo teme tusa i umjetnih trepavica. Vazan dio bio je procjenjivanje oblika ociju te nacin kako oblikovati oci u savrseni oblik. Posebno sam se fokusirala na nanosenje tusa na spustene kapke. Vjezbom do savrsenstva!

Premda sam prvi put u zivotu uopce imala umjetne trepavice u rukama a i na ocima (ne brojimo onih par puta kad sam uspjela zeznuti trepavice s ljepilom bez da sam ih krenula stavljati uopce), mislim da je proslo odlicno. Jos par puta nakon toga sam stavljala i izgleda da sam pohvatala, partii! Slike mozete vidjeti u prijasnjem postu.

Kao i uvijek, prije nego zavrsim s temom Illamasquine skole, par rijeci mudrosti.

Prije nanosenja tusa uvijek, ali uvijek (i to tvrdim i za sve ostalo) procijenite dobro oblik oka i sto tocno treba napraviti da bi se postigao zeljeni efekt. Isto tako i kod trepavica, duzina kraljeznice, debljina, mjesto na kapku na koje cete ih instalirati. Znam da zvuci mutavo, ali iznenadili biste se..


This week on Illamasqua class we got to the eyeliner and false lashes topic. The important part was understanding all the shapes and sizes of the eye and a way to make them perfect. My focus was applying the eyeliner on hooded eyes. Practice makes perfect!


Although it was my first time using lashes and applying them to someone else (not counting a few times I screwed up the lashes without even starting to apply them), I think it went great. I practiced a few times after the class and it looks like I can handle it quite well, woo! Some of the pictures are in the post below.


As always, I am finishing the Illamasqua class topic with a few words of wisdom.


Before applying the eyeliner, always, and I do mean always (as for everything else), look at the eye, examine it and understand what do you need to do to get that wanted look. Same thing with the lashes, the size and lenght, thickness, where excatly will you place it on the lid. I know it sounds silly, but I've seen things..


Part of Illamasqua crew with Marijana Gluić


Awesome sunset eye

Stigao mi je prije par dana i set trepavica s Ebaya za koje sam se zacudila koliko su zapravo nelose. Za usporedbu imam i dva para Illamasquinih trepavica.

A few days I go I got a set of lashes from Ebay which suprised me how not bad they are. For comparison I also have two Illamasqua sets.

Ebay

Ebay
Illamasqua

Illamasqua

Naravno da su razlike izmedu setova ogromne. Trepavice iz Illamasque imaju gumenu kraljeznicu, lagane su i mekane, lako se nanose i izgledaju prekrasno na ocima.S obzirom na tu gumenu kraljeznicu, bez problema cete ih moci vise puta koristiti. Zao mi je, ali ne znam tocno kako se cijene krecu, predlazem da pogledate na njihovoj stranici.

Ako vas zanimaju ove trepavice s Ebaya, evo linka. Pretpostavljala sam da ce biti papiraste i nikakve, ali su cak dovoljno u redu da ih mozete staviti par puta. Pripazite jedino kada cete ih prvi puta skidati s ambalaze, jer su ih malo previse zalijepili.

Ofcourse, the difference is huge. Illamasqua lashes have a rubber spine, they are light and soft, easy to apply and look fantastic. Considering the fact of the rubber spine, you will have no problem re-using them. Unfortunately, I don't know exactly the prices, so check them out on Illamasqua website.


Link for the Ebay lashes is here. Although I thought they will be paper like and easy to break, they are good enough to use a couple of times. But watch out when removing them from the box, they are glued quite firmly.


Ovako izgleda Illamasqua ljepilo koje se dobije zajedno sa trepavicama. Kolicina proizvoda je 1ml. To je ljepilo koje se vise nego isplati imati u svojem kovcegu, jer je jedno od najjacih i najboljih. Ima fluorescentno  zelenkasti odsjaj, i lagano se pretvara u prozirno na trepavicama, po cemu znate tocno kad je ljepilo dovoljno ljepljivo da mozete stavljati trepavicu na kapak.

This is how Illamasqua glue that comes in a box with the lashes looks like. There is 1ml of product in there. It's one of the best glues on the market and a must have in your make up case. It has a fluorescentish green glow and with time turns transparent, and that's how you know it's time to apply the lash.